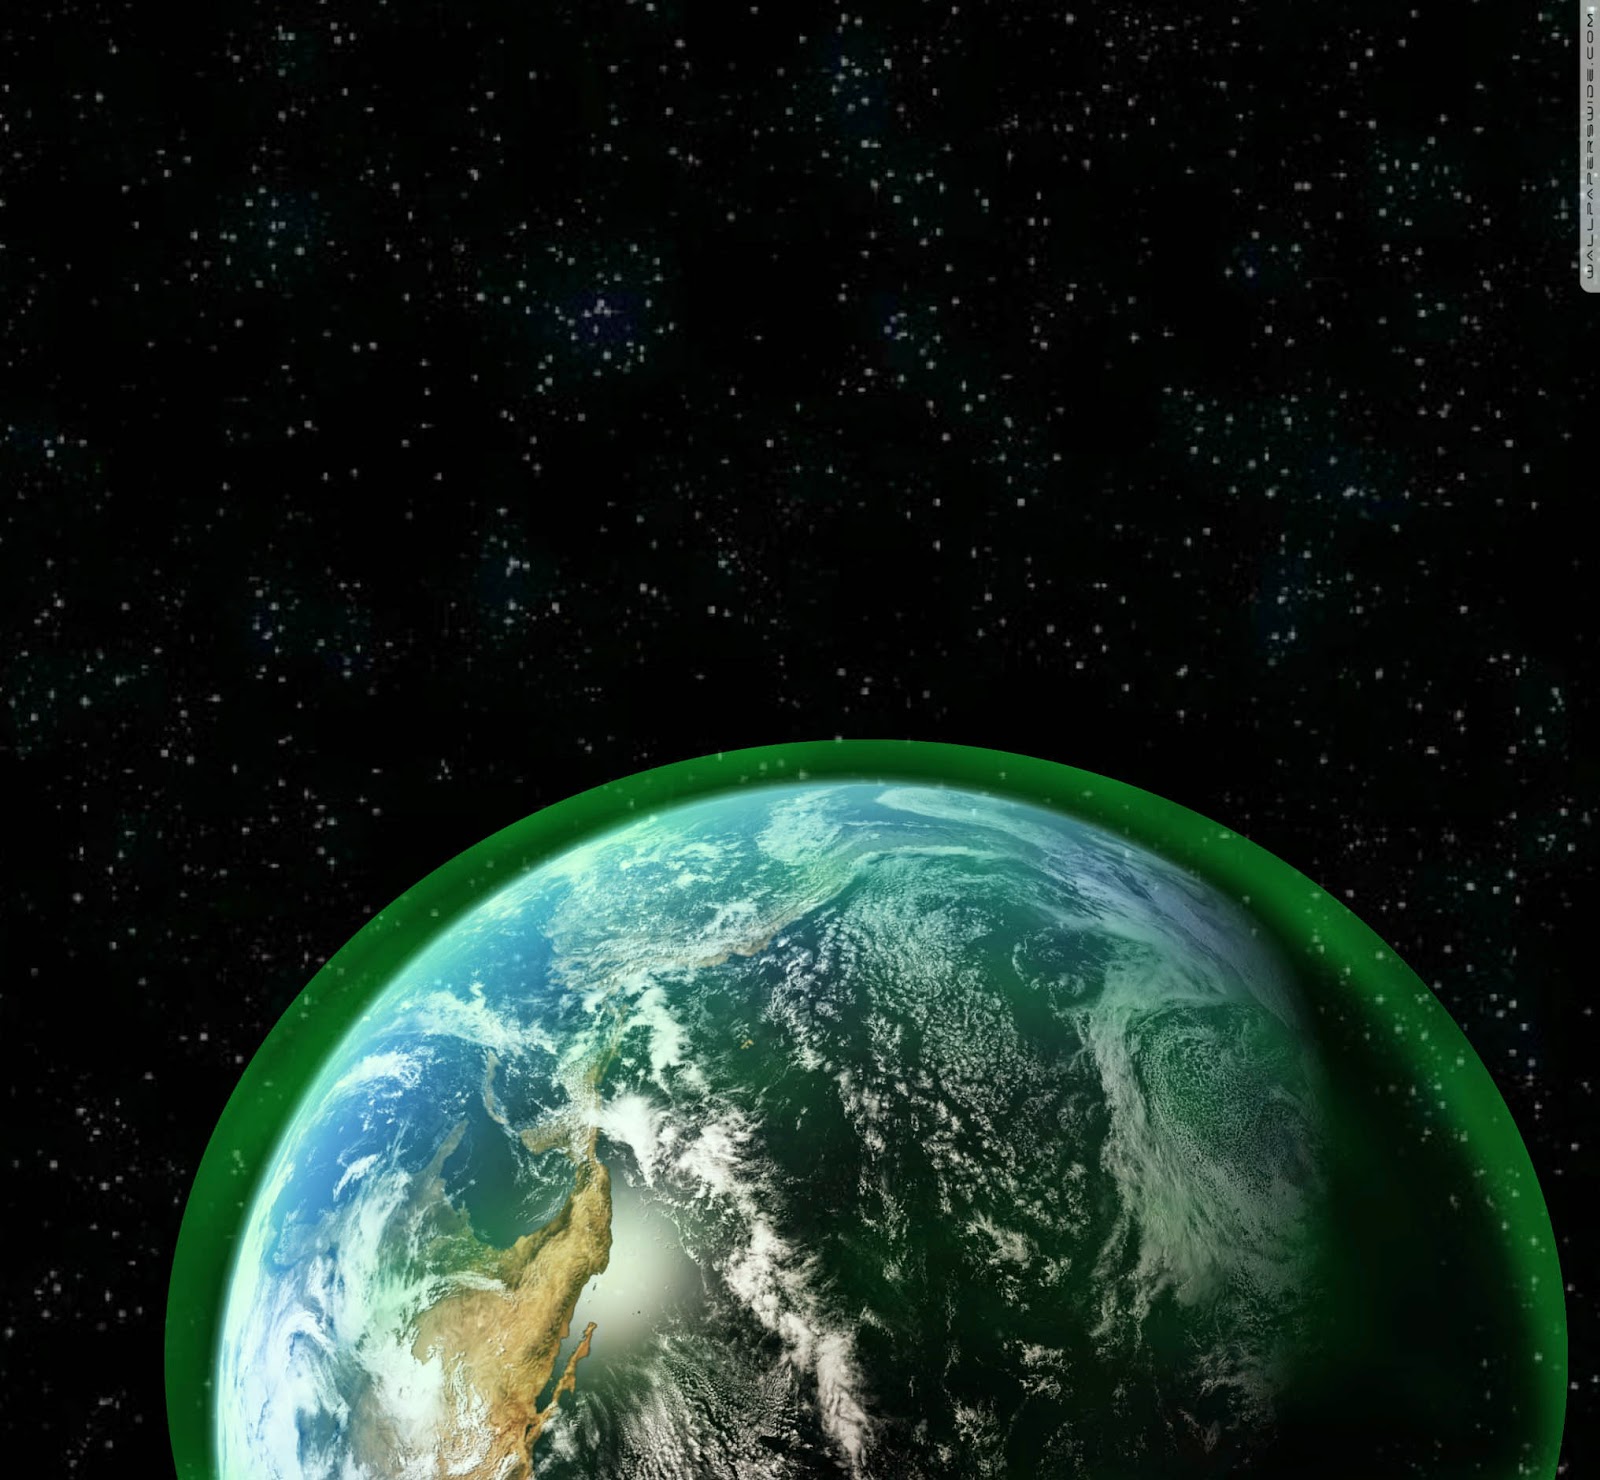
Then in photoshop, using gradients I created green "atmosphere" around the earth.
After that, using eraser brush i got rid of all the sharp edges to make it look like real atmosphere.
The next step was to add another object to the background. it was a picture of a guy in hazmat suit.
Using colour range I made the background transparent so i could paste this guy onto main background.
Then I rescaled it and placed it in the middle of the picture
After that i had to select area of the face on the hazmat suit and get rid of it so i could paste my own face onto the picture.
After that using blending options and selecting hardlight I added more depth to the picture.
The next step was to add the "alien's eyes" to the upper corners of the picture. again using blending option hardlight i managed to make it look really good and rich in colours.

The next step was to add a title. I downloaded font called jacinto sans. Using type tool I typed The Last Chance on the top of the picture and rescaled it. dragged the layer under the layer with hazmat suit guy to make it look like its behind him. Then made it yellow.
After that, using paintbrush I painted grey and white lines on top of the helmet to make it look like it is reflecting light.
the final step was to add textures. using pic monkey.com instead of photoshop i added violet nebula texture, then I applied solar flare on top of it and finished setting saturation higher to make it more colourful.
The final step was to add 18 logo and bottom text


